Between the holiday break, March break, and just general breaks between projects, we know that many teachers and schools may have not used their 3D printers recently.
Your 3D printer is perfectly fine to sit unused for a while, BUT there are a few important steps you should take before operating it again. Making sure your 3D printer is in tiptop shape after a break will help to avoid failed prints, filament clogs, or worse, broken machine parts!
Here are our top 5 recommendations for using your 3D Printer after it's been sitting for a while.
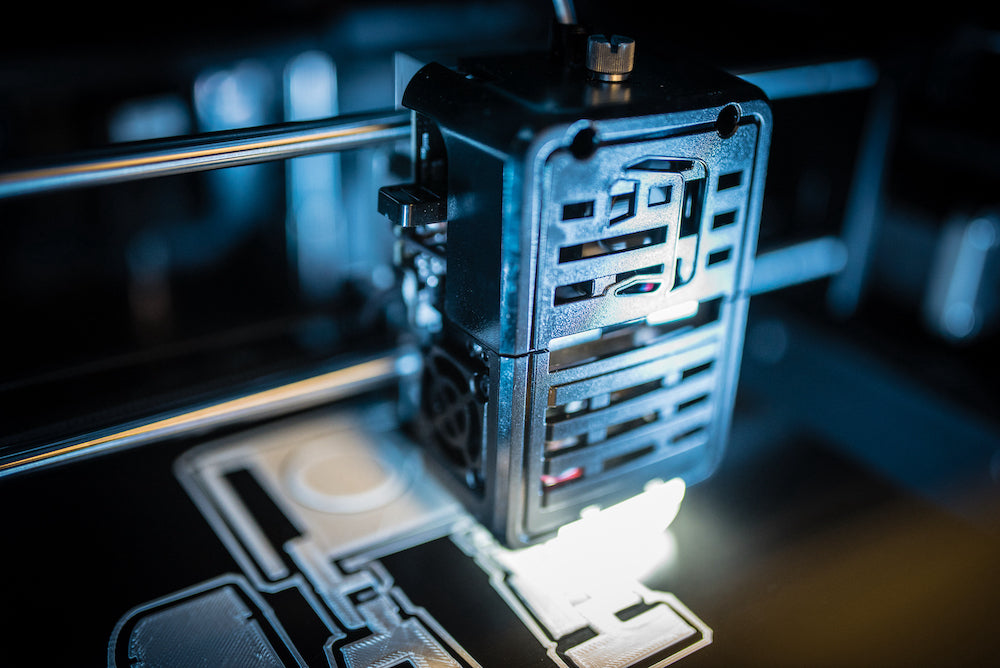
1. Clean everything.
This is probably the most important recommendation of them all. Before queuing up your printer for a big project, you'll want to make sure it's clear of dust, leftover printing debris, and both the nozzle and print bed are clean.
Wipe away debris from inside the printer, especially anything that may be caught under the print bed. Use a cloth to wipe off the surface of the 3D printing bed. If you have a Cubicon 3D printer with a heated bed, you can use a bit of acetone to remove any plastic residue.
You should also get into the habit of using the wire bristle to clean off the nozzle and auto-level touch points on the print bed. If there's even the smallest amount of plastic on the nozzle or auto-level points, that could lead to an auto-level failure. You may need to pre-heat the extruder nozzle for tough, stuck-on plastic.
We have a full blog post title 'Basic 3D Printer Maintenance' here.

2. Check your filament!!!
Filament doesn't last forever, and it's likely the main culprit if you're continually having print failures despite a clean printer.
If your filament has been open to the air for more than 4-6 months there's a good chance it will cause printing failures. Filament takes on moisture over time. It shouldn't be brittle, but should bend and flex easily (enough to the point where you could tie it in a knot). If it's brittle, unless you can dry your filament in a dehydrator, it's likely garbage.
It's best practice to keep your filament sealed in an airtight container. Get a 3D printing filament storage container that allows you to maintain consistent temperature and humidity while preventing moisture and dust from negatively impacting your filament. You can purchase the eSun eBox Lite here. An alternative is an eVacuum kit. The eSun eVacuum Kit is an effective way to prevent humidity, moisture, and dust from negatively impacting your 3D printing filament during storage. You can find the eSun Vacuum kit here.

3. Do a test print!
Once your 3D printer is clean and you've checked the condition of your filament, you'll want to preform a test print. We recommend printing something small and relatively quick to ensure everything is functioning properly.
Here are some files that make great test prints:
4. Clogs, Jams & Failures (Oh My!)
If your test print is successful, you're good to go with your 3D printing project! Just make sure there isn't any leftover residue on the nozzle or bed from your test print.
If you're test print isn't successful, it's likely a clog or jam in the nozzle, or an auto-leveling failure.
Clogs and jams are the most common problems that prevent a successful print. You'll know that it's a clog or jam if you're printer completes the auto-leveling process and starts printing but no actual filament is coming out of the nozzle.
We recommend using the 'load' function on your printer to purge any old filament left in the nozzle. This will allow you to dispose of any leftover filament in the nozzle and ensure a clean steady stream of the new filament. This is also a useful tip when you're switching filament colours (especially dark to light). Additionally, you can use the pre-heat function to heat up the nozzle and use the plunger tool to push through any jammed filament.
If you run into an auto-leveling failure, you'll see some sort of error message on your printer letting you know. Auto-leveling failures are most often caused by leftover plastic residue stuck to the nozzle or the sensor pads on the printing bed. See tip #2 for cleaning recommendations.

5. Replace the Filter
It's recommended that the HEPA filter in your enclosed 3D printer is changed at least once a year. If you remove the filter from your printer, it should be white. If the filter is grey, dusty, or has any sort of residue you should replace it immediately! You can find replacement filters, and other parts, here.

That concludes our 5 top tips for using your 3D printer after a break! Completing these 5 recommendations will help ensure printing success and prevent failures, clogs, or broken parts.
As always, if you have any questions or concerns about your 3D printer from InkSmith, contact our Technical Support team at tech@inksmith.ca. You can also check out our new and improved Frequently Asked Questions page.
The Importance of Professional Development for Educators
InkSmith Transitions Climate Action Kits to Forward Education