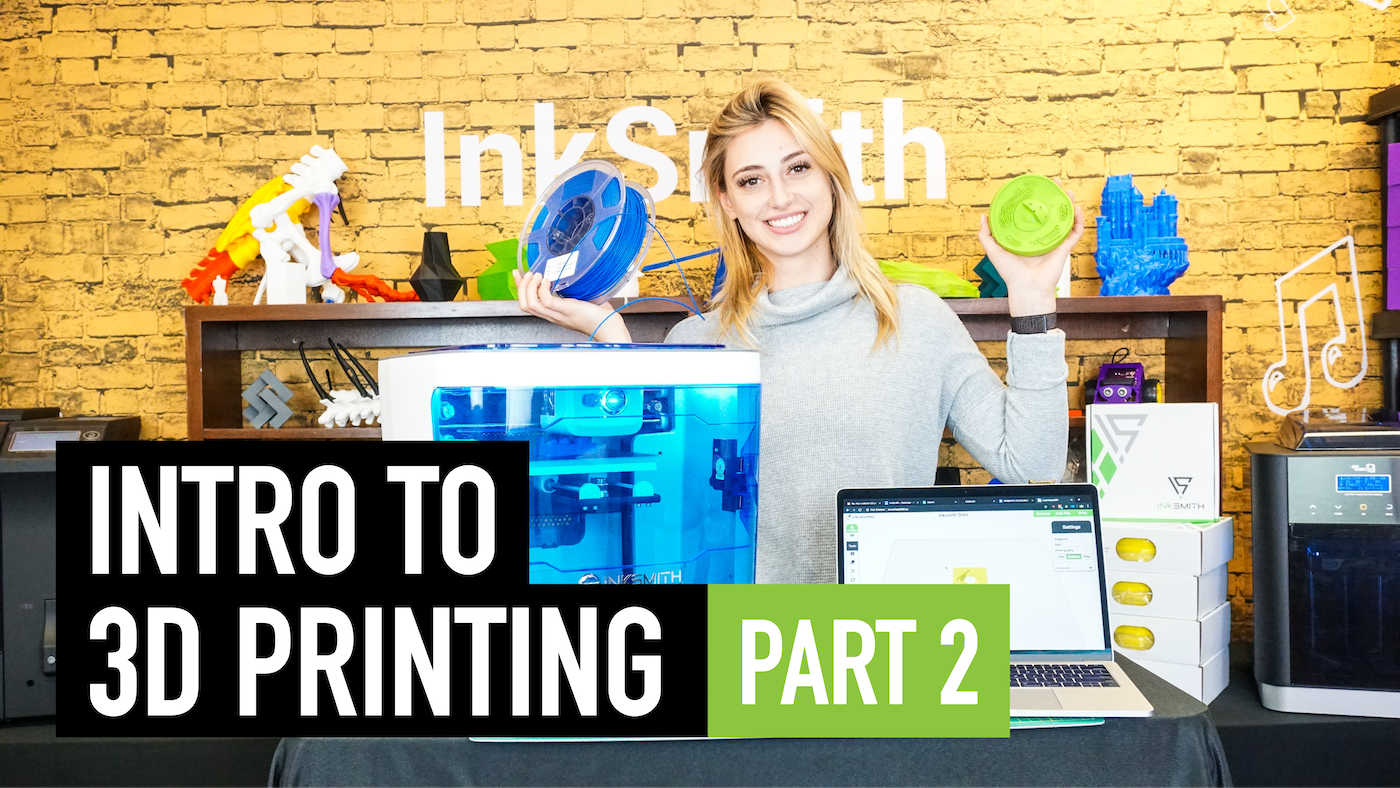
If you've never 3D printed anything or you want to introduce 3D printing to your students, check out this tutorial video!
Steps to 3D Printing
There are three main steps to the 3D printing process: CAD model, slice, and print. We're going to talk about each of those steps and break them down in this video.
1. 3D Model
Before you can actually 3D print something you need to start with a 3D model, or CAD model. CAD stands for Computer Aided Design. CAD software is what you use to actually 3D model your objects.
FILE CREATING:
- If you wish to create your own 3D model to print, InkSmith recommends a browser-based software called Tinkercad. Tinkercad is easy to use and free for students and educators.
- In Tinkercad you can create and design pretty much anything you can imagine.
- There are many other CAD software options out there. If you want a more advanced 3D modeling experience we recommend checking out OnShape. OnShape is also browser-based and free for students and educators.
FILE SOURCING:
- Another option for 3D printing if you don’t want to create your own 3D model is to download a CAD model from an open-source platform.
- Open source platforms like Thingiverse, GrabCAD and PinShape are filled with tons of pre-made 3D modeling files that you can download and print.
- These options are great for printing different parts or complicated models if you don’t want to have to design it yourself.
It’s also possible to source a pre-made file from a 3D model library and modify and iterate on the design in Tinkercad. This way you’re both sourcing and creating your own file. This is a great practice for more advanced design concepts.
Whichever way you obtain your 3D model file you’ll want to make sure the file is saved as an .STL extension. An STL file is a pretty universal file format for 3D CAD files.
2. Slicing a File
Now that we have our STL CAD file we need to take that 3D model and translate it into a language the printer can understand. Like we talked about earlier, the 3D printer works by printing layer by layer in slices to build up an object. So we need to take our CAD file and slice it into a bunch of layers so the printer knows where to go and print the lines. This step is appropriately named ‘slicing’.
In order to slice a file, there are a couple of different software options you can choose For InkSmith printers we recommend using our browser-based slicing software called Launchpad. Additionally, for InkSmith Cubicon printers, you can use the software called Cubicreator. Cubicreator is designed specifically for Cubicon 3D printers. However please note, Cubicreator is only compatible with PCs and the software must be downloaded directly onto the computer.
During the slicing process, the slicing software will take your 3D CAD model and translate it into a bunch of coordinates, also known as .gcode. G-code is a language that 3D printers use to determine the exact coordinates of where the extruder must travel to print filament.
Please note, slicing is the most critical step of 3D printing. You cannot 3D print something unless it has been sliced for the printer. STL files or other CAD models cannot be read by the printer and will not show up on your control interface if you try to print them.
ORIENTING
- Now that we understand what the slicing process is, there are a couple of very important steps that need to be taking during this process.
- These steps are orienting, infill, supports, and settings.
- Whenever you’re 3D printing it’s extremely important to make sure your object is correctly oriented on the bed. The correct orientation is placing whatever side has the flattest surface area on the bed.
- Making sure your object is correctly oriented on the bed will also help to ensure your print has good bed adhesion and does not come unstuck when printing.
INFILL
- During the slicing process is also where you will determine how much infill an object has. Infill is how dense or hallow the object is. An object that has a higher infill percentage will be more dense, requiring more filament and will take longer to print. But will ultimately be stronger.
- An object with a lower infill percentage will be more hallow but will require less filament and be faster to print.
- You can check your infill percentage when you preview your model on the slicing software.
SUPPORTS
- The next part of slicing is determining whether or not your object requires supports.
- Supports are temporary structures that help to hold up your object during the printing process. Supports can be cut out or removed when the print is finished.
- Supports are necessary to add whenever you have an overhang or bridge in your object.
- When designing your 3D model it’s always important to consider how many supports your object will need. Objects that require fewer supports will be more successful and turn out much better than objects that require a lot of supports.
SETTINGS
- Before you download your file to print it’s important to double-check all your settings.
- The most important setting you should check before printing is the temperature.
- Printing with the correct temperature can make or break your print.
- Always ensure that you have the correct print temperature in your slicing settings for the corresponding filament you’re printing with.
Now that we’ve gone through all the important steps of slicing your file you’re ready to download your ‘g-code’ file and send it to the printer. Using your slicing software, download and save your file to your printer. For InkSmith Cubicon printers your file will have the extension .hvs or .hfb. For the InkSmith Orbit printer, you will see a .gcode or .gsd file. You’re now ready to print your file!
3. Printing your file!
Now that you have your sliced 3D printing file you’re ready to send it to the printer.
There are a couple of different ways you can send your file to your 3D printer. Some printers are WiFi enabled, you can hardwire your computer to the printer but the safest and easiest way to transfer your print to the machine is with a USB or SD card.
Using a USB or SD card ensures that the file transfer won’t be interrupted during the printing process. To do this, load your .hvs, .hfb, .gcode or .gsd file onto your USB or SD card then plug it into the printer. Then from your printer’s interface screen, select your file and press start! Your object will now begin to print!
While it’s fine to leave your printer alone or overnight to print, we always recommend checking on your print to make sure the filament doesn’t become tangled and to prevent any other errors from stopping your print. The first hour of printing is the most crucial. Prints typically tend to fail within the first hour they are printing. If a print has successful passed the first-hour mark, you’re probably fine to leave and only check on it periodically.
And that’s it! When your print is finished and your printer has cooled down you can remove it from the print surface.
If you’re having trouble removing your print you can use the print removal tool from your toolbox to gently pry it off.
Remove any supports if necessary using needle nose pliers and you’re good to go! Make sure the appropriate safety precautions are observed when removing supports from prints and especially when using tools to do so.
Questions?
If you have questions about anything discussed, please don't hesitate to contact us at tech@inksmith.ca
Introduction to 3D Printing: What is 3D Printing?
3D Printing PDF Guide