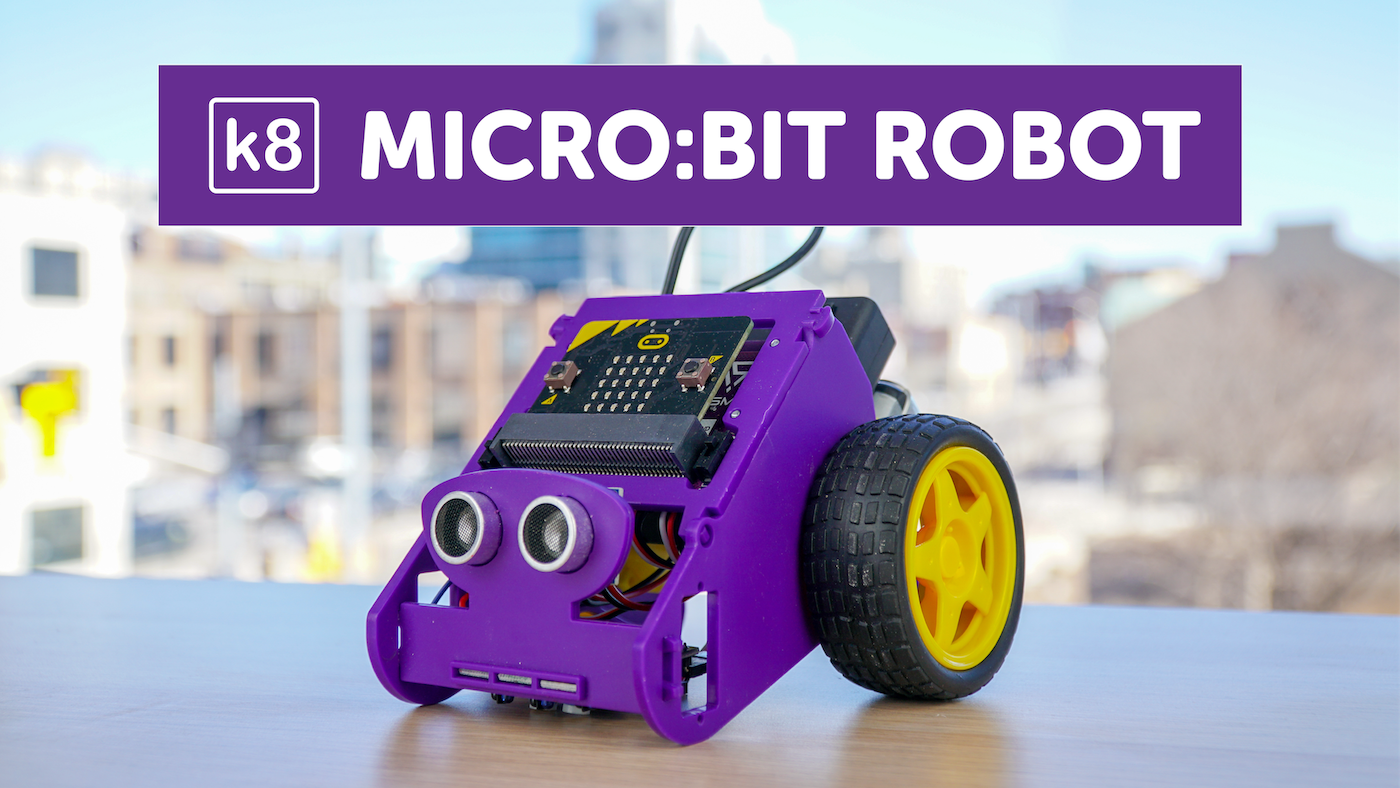
Once you've received your k8 robot you'll need to assemble it! After you've assembled your robot you can head over to our Teachable platform and enroll in our coding courses to start programming your robot using a micro:bit.
Step 1: Assemble Sidewalls
To start building your k8 robot, assemble the plastic purple sidewalls using the long screws, DC motors, and black hex bars.
Step 2: Join Sidewalls
Once you have each of the sidewalls assembled you can join them together.
Step 3: Insert Sensors
Insert the Ultrasonic Sensor into the two round holes in the plastic faceplate (this may require some force).
Step 4: Attach k8 Board
Next, locate the square plastic PCB plate and the four small screws. Line up the holes in the purple k8 board with the holes on the PCB plate. The micro:bit edge connector should be protruding through the front of the PCB plate. Secure the k8 board with the four small screws, the screws should be fastened from the backside of the PCB plate and k8 board (as shown).
Step 5: Insert Infrared Sensor
Locate the three rectangle Infrared Sensors, and push them into the slots on the purple plastic faceplate. Make sure the IR sensors are inserted with the small IR lights facing down.
Next, locate the three black, red, and white wires and attach them to each of the IR sensors (lining them up with the correct prongs). The prong labeled 'G' for 'ground' should always connect with the black wire. Locate the four-wire connector and attach it to the Sonar sensor, again lining up correct prongs ('Gnd' for ground).
Please note: this may require some force to secure the IR sensor. You can also use the white plastic modeling clay included in your robotics kit to secure the sensors.
Step 6: Snap-in Face Plate
With you faceplate now assembled, you can line up the slots in the sidewalls with the prongs on the faceplate and snap them into place.
Step 7: Add Servo Motor
Thread the cable of the Servo Motor through the rectangular hole in either side of the Sidewalls, from the outside to the inside. Secure the motor in place with the two small screws.
Step 8: Connect Cables
Now that we have all the main parts of our k8 body assembled, we need to wire up all those components to the k8 Board. Each of the prongs on the back of the k8 Board are labeled, be careful to align the correct orientation of the wire connectors with the prongs on the board. After all your wires are connected you can insert the PCB plate into the holes on each sidewall and snap it into place.
Step 9: Attach Wheels
Next, attach the two wheels to the body. Locate the two rubber wheels and snap them onto the axel on each of the DC motors. Be sure to align the axels with the slots on each of the wheels!
Step 10: Add Battery Pack
Your k8 robot is almost assembled! For the last step, all you need to do is add the Battery Pack. Slide the Battery Pack between the notches on either side of the Sidewalls, starting from the back of the robot. Plus in the cord from the Battery Pack to the 6V connection on the back of the k8 Board.
Insert a micro:bit into the edge connector on the k8 Board with the micro:bits lights and buttons facing out.
You did it!
Your k8 robot is now assembled!
Now, head over to our Teachable platform for all the courses on how to code and program your k8. We'll go through how to add the k8 robot extension to your MakeCode program and much more!
The recently released Mission on the Moon is a bundle of free online space-themed coding and robotics courses for students in grades 6 to 9. In this program, k8 will act as the lunar rover on the moon for all of the program's courses. Developed in partnership with Laurier's Faculty of Education and with financial support of the Canadian Space Agency.


Launchpad 3D Slicing Software Tutorial
Unboxing the Cubicon Style Plus 3D Printer