Once you've received your Cubicon Style 3D printer you can get ready to unbox and set up your new machine! Follow the steps and videos below to ensure your printer is set up correctly.
Step 1: Unbox and Remove Packaging
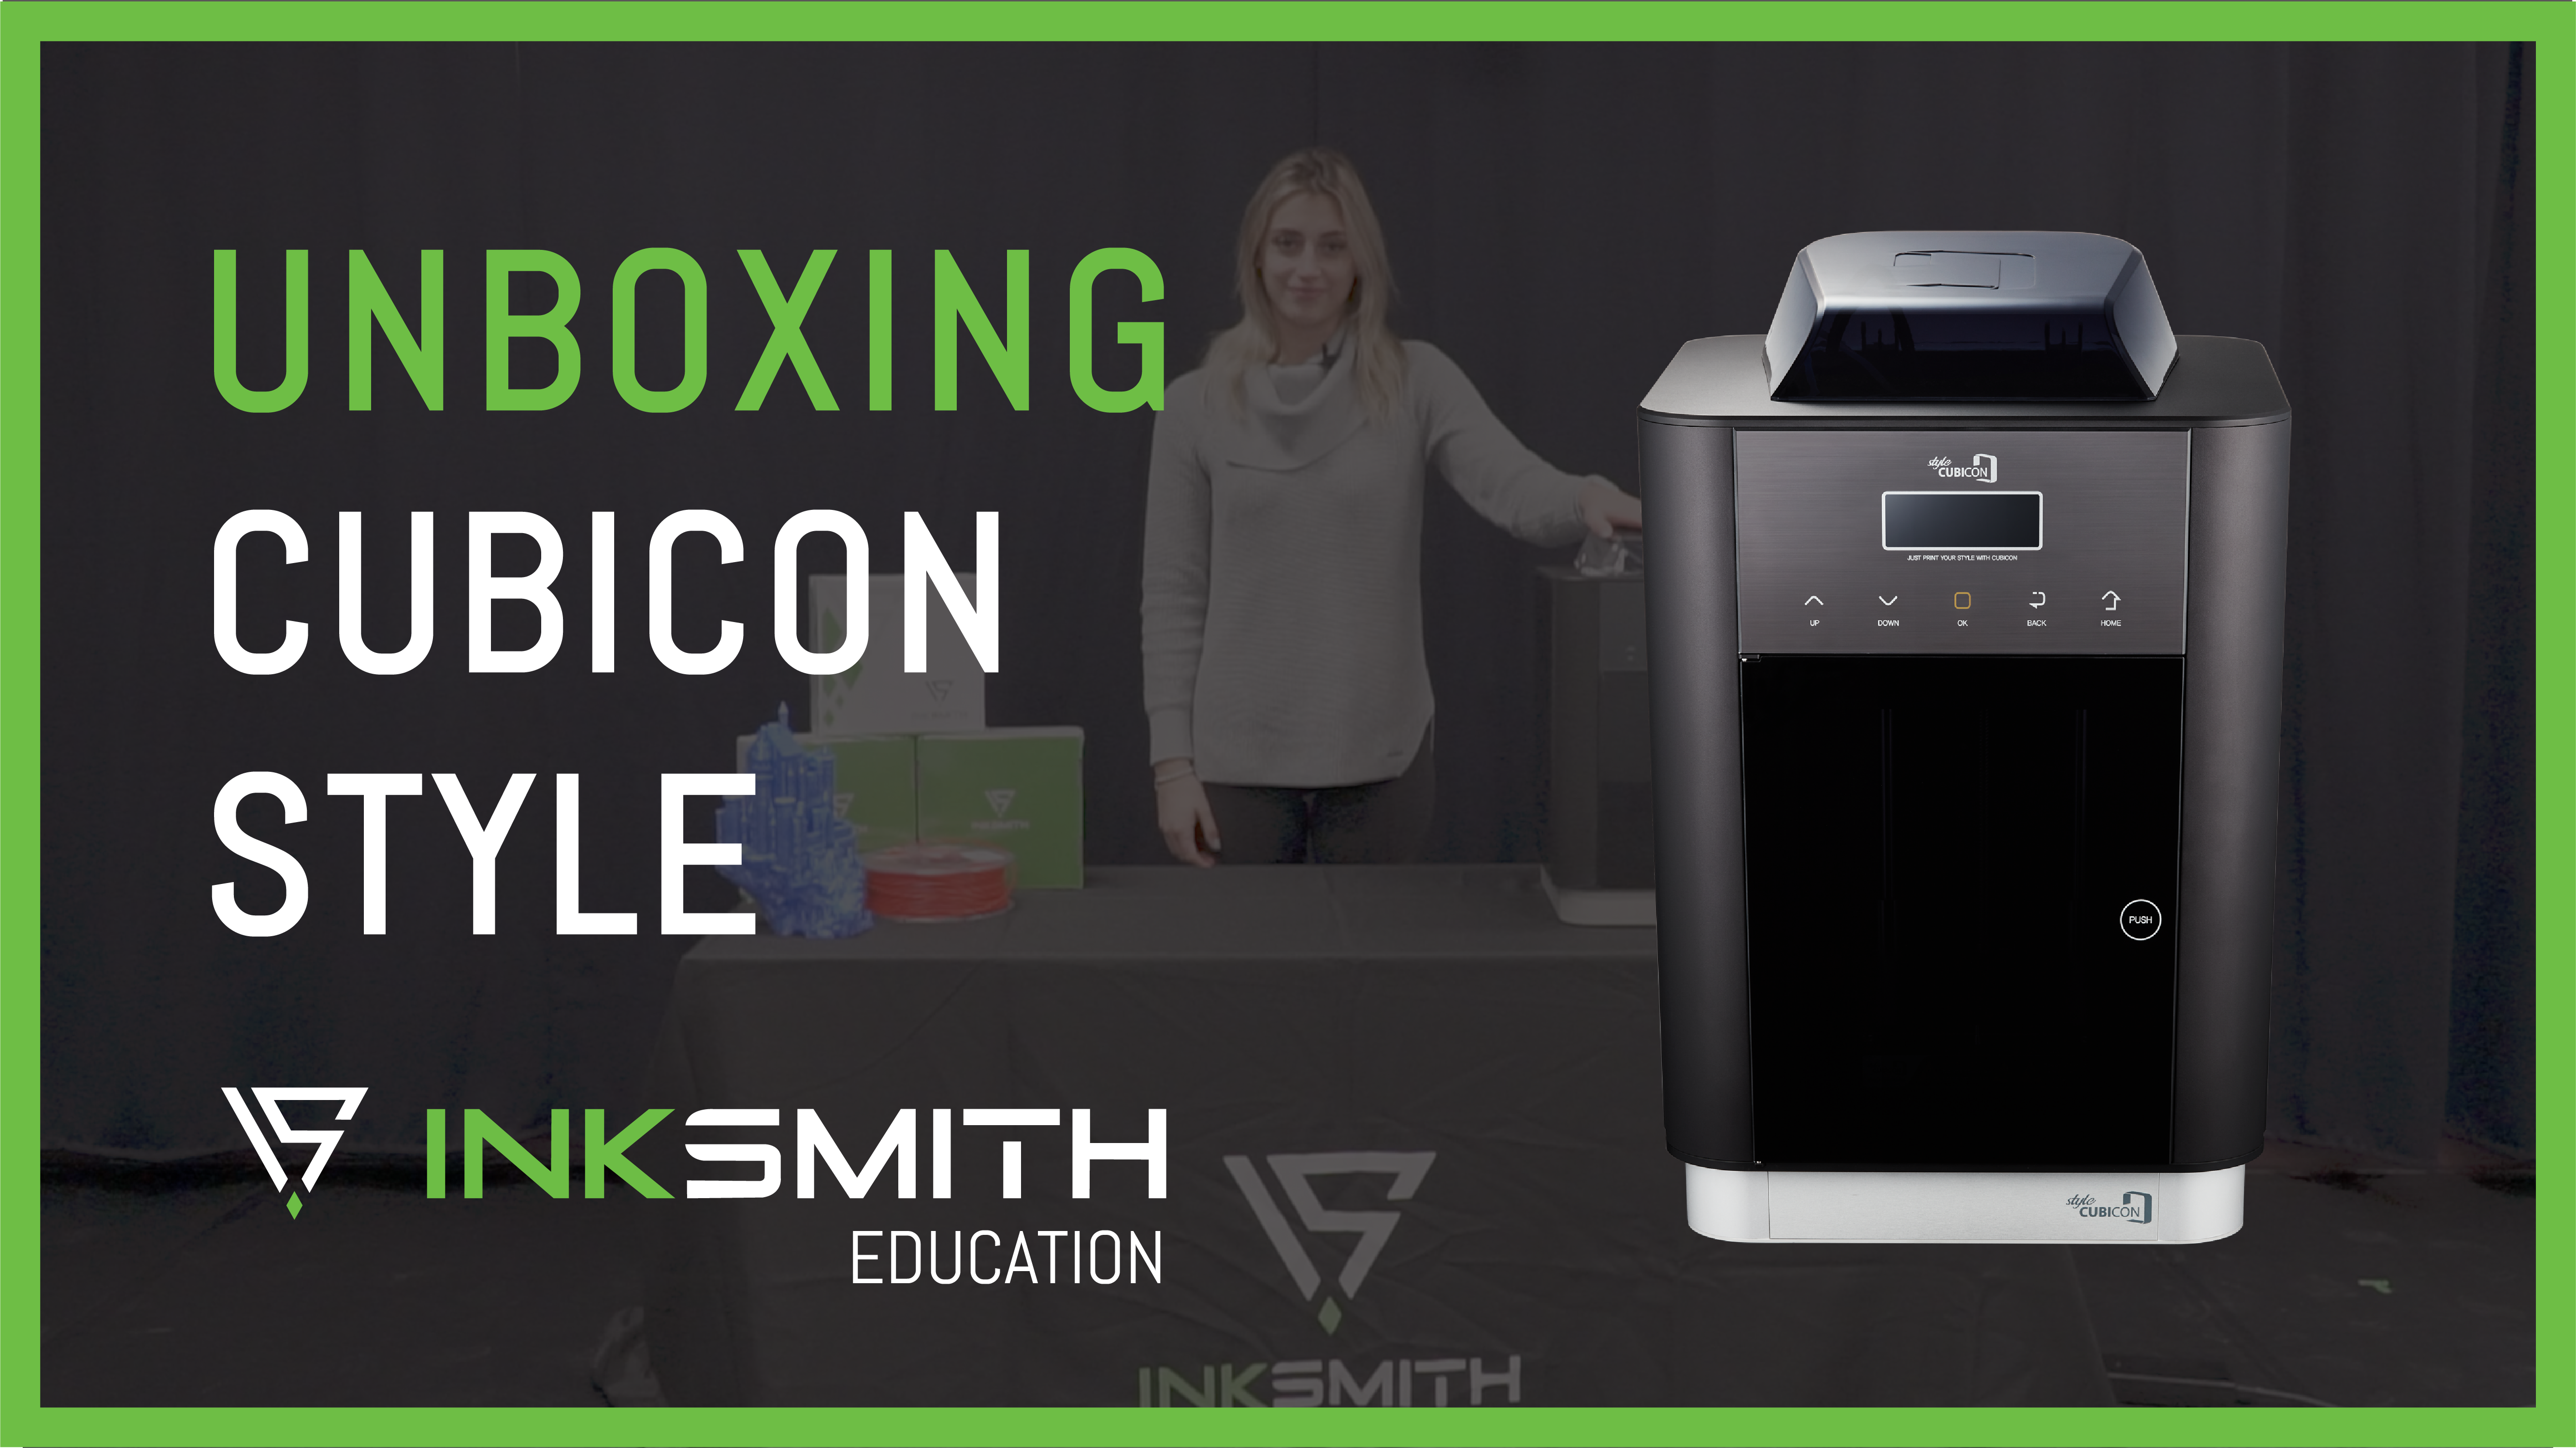
The first step to setting up your Style 3D printer is to take the machine out of the box and remove all external and internal packaging. After all the packaging has been removed you can plug in and turn on the machine. The power button is located on the lower right side of the printer.
Step 2: Loading Filament
Once you have your Style printer plugged in and turned on you're ready to load your filament. Your 3D printer will come with a filament holder which can be hooked in place on the backside of the printer. Rest the roll of filament on the holder with the filament threading out from the top side of the roll, rather than from the bottom.
After your filament is in position, you can thread the clean-cut end through the filament hole located on the back of the printer. Keep pushing the filament through until it comes out the end of the plastic bowden tube, about 4-5 inches. Insert the clean-cut end of the filament into the hole on the top of the extruder, you should be able to push the filament down a good 3-4 inches.
Step 3: Install Filter
To install your HEPA/Carbon filter, unwrap it from the plastic covering, and insert it into the metal bracket located on the inside of your printer. Be sure to line up the directional arrows so your filter is pointing in the right direction.
Step 4: Starting a Print
To start a print, insert your SD card with a sliced .hvs file into the SD card slot on the side of the printer. On the control screen, select your desired file from the SD card menu and press 'OK'. The printer will begin to heat up, followed by the automatic leveling cycle.
Step 5: Removing a Print
With the Cubicon heated and coated bed, removing prints is very easy. Once the print is finished, allow the bed and print to cool down. Once cooled, simply remove the print by hand, or use the print removal tool. If you're having difficulty removing a print, allow some more time for it to cool down.
If there's anything you still need help with or if you have any questions don't hesitate to contact the InkSmith Tech Support team: tech@inksmith.ca.
Unboxing the InkSmith Orbit 3D Printer
Unboxing the Cubicon Single Plus 3D Printer