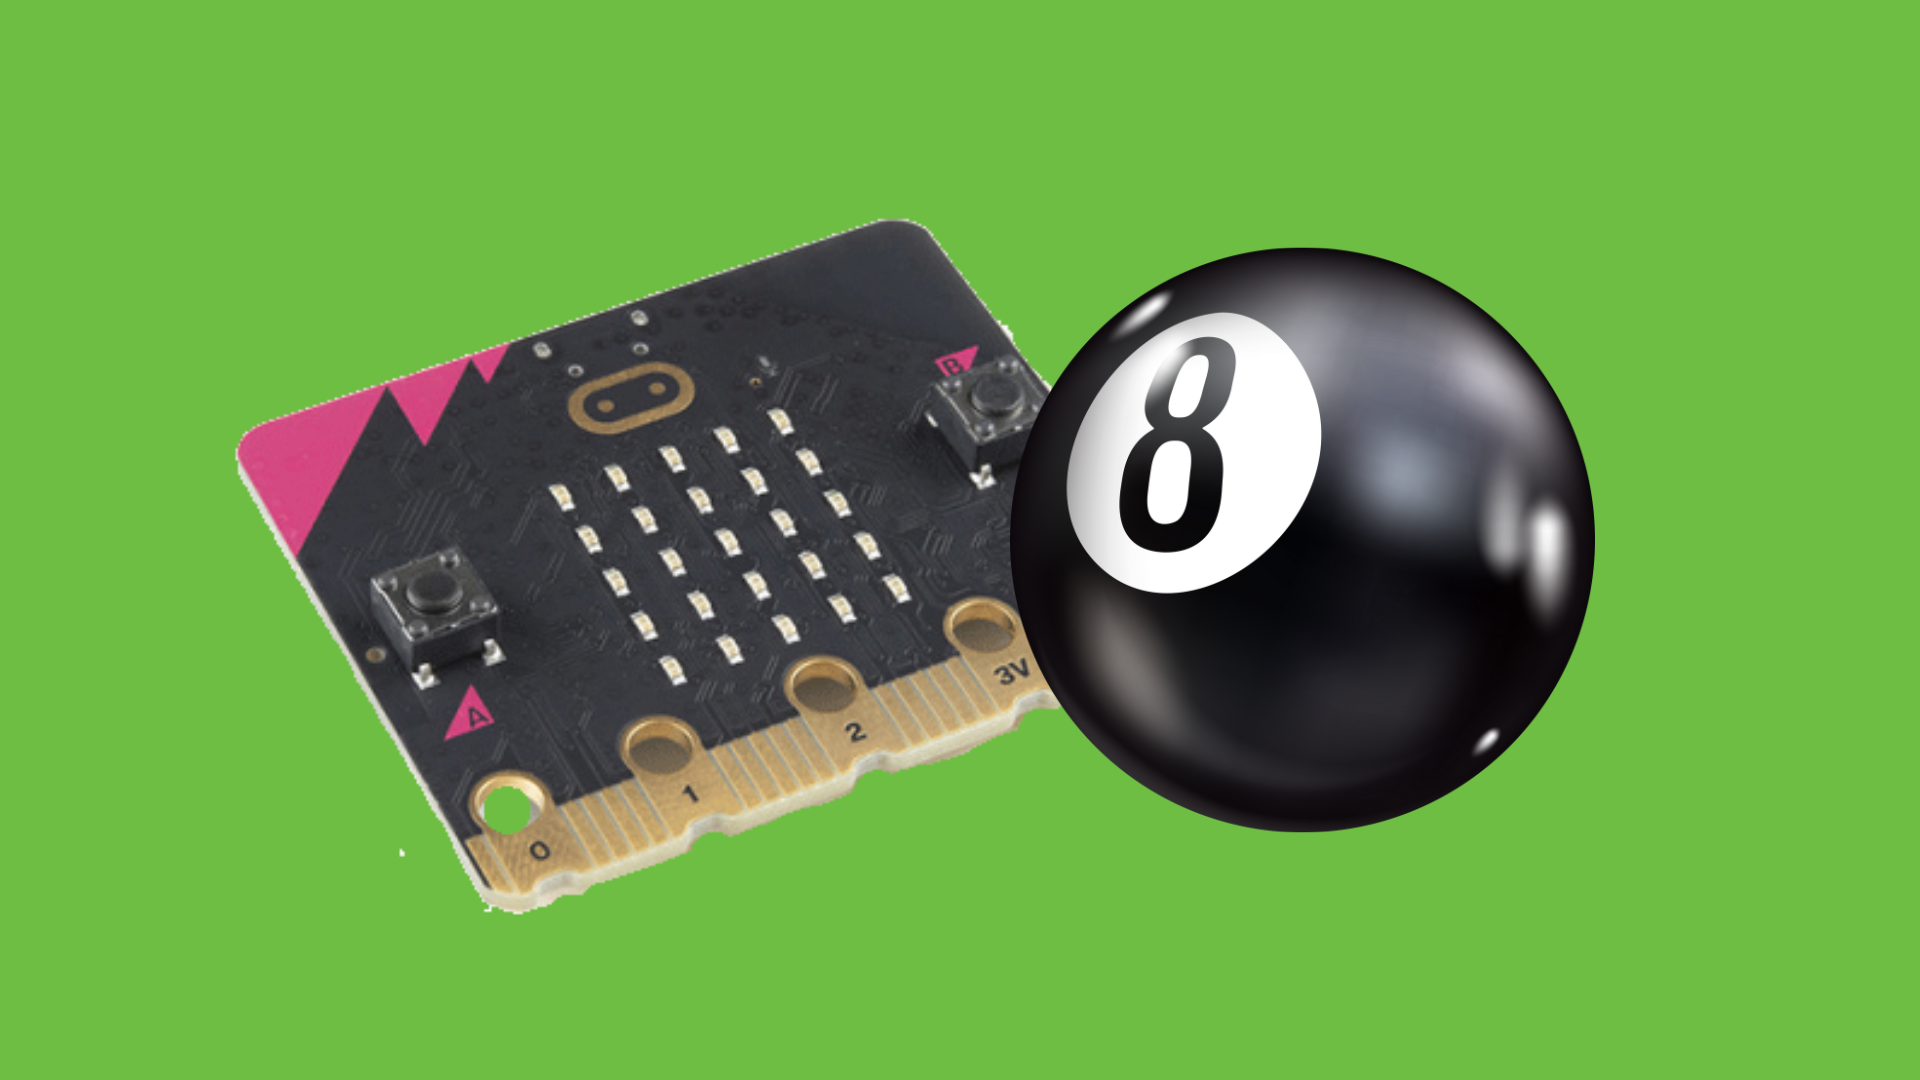
What is micro:bit?
Since its inception in 2016, micro:bit has reached the hands of almost 5 million users in over 50 countries! In our opinion, it's arguably one of the best tools to teach beginners code.
In simple terms, the micro:bit is a small micro-computer that is equipped with a range of features including 25 LEDs, 2 buttons, an accelerometer, Bluetooth communications and more. The micro:bit can be programmed with block-based of Javascript code using online software platforms like Microsoft Makecode.
The micro:bit is an effective way to introduce students to coding as it allows them to interact with their code in the real world.
For those who are new to using micro:bit, here's a great introduction activity to walk your students through! Remember, you can transition from block code to Javascript as you progress.
Coding the micro:bit
If you've also never used Microsoft Makecode before, we recommend watching this overview video to get you caught up to speed with using the platform.
micro:bit Intro Activity: Magic 8 Ball
This Magic 8 Ball activity is a great introduction to coding with micro:bit as it gets users familiar with some basic coding inputs and coding logic.
Before we start coding, we need to understand the basic concept of a Magic 8 Ball, which is to show an answer when we shake it. In order to replicate this function with our micro:bit we need to use a few different features of the micro:bit. These features are the LEDs (to show our answer) and the accelerometer (to detect the shaking action).
1. INPUT - To start coding, we need to have some sort of 'input' that tells our micro:bit what to do when it detects a certain action. Since we want to shake the micro:bit to trigger the answer, we'll choose the 'on shake' input.

2. VARIABLE - Our next step is to create a variable for our answers. Essentially, we need to make a codeword for our micro:bit to recognize. We’re going to name our variable ‘answer’. To create your variable:
- Go to variable tab
- Click ‘make a variable’
- Name variable 'answer'

3. LOGIC - Next, we’re going to the logic tab. We need to make a conditional statement. A conditional statement, in plain English, is saying "if this 'thing' happens, do this other 'thing'". If we think about this computationally, our logic needs to be as follows:
On shake > Choose an answer > If answer is 'A' > show X > If answer is 'B' > show Y
We need to assign an answer to as many variable options as we choose. For the Magic 8 Ball we’re going to use the following options
- 1 = Yes
- 2 = No
- 3 = Maybe
- 4 = Definitely
- 5 = Definitely not
We have five possible answers. So, we need our micro:bit to choose one of these answers when we shake it. Head over to the ‘Math’ tab and bring over ‘Pick Random Number’

Awesome! When we shake the micro:bit it will choose 1, 2, 3, 4, or 5. Now we need to assign an answer to each of these different options. Let’s look at the code and logic blocks we’ll be using to make this happen.

4. COMPARISON - Now, if we go back and look at what we wanted to do computationally, we should be able to figure out how to put these together to get our first answer.

Let’s get our second answer in there, once you’ve done this, click on the ‘+’ circled in yellow in the image below. This will allow us to put answers in and get our 5 options in!

Once your logic loop is all complete your code should look like this:

Congratulations! You’ve successfully coded your micro:bit to be a Magic 8 Ball. Next steps? Design and create the physical ball to put your micro:bit into!
Ready to start coding? Here's some sample code to get you started:


How to 3D Print Lithophane Images
Unboxing the InkSmith Makerforge 3D Printer